Bobtail Discovery Raptor Painting |
|
|
Paint it, black.
I decided to tidy up the bobtail before the upcoming Late Brake Show Tour event that was going to be right outside my town on the 11th September 2021. I liked the rough look it had but with paint peeling off everywhere it was getting a bit much. About time the rear door matched too...
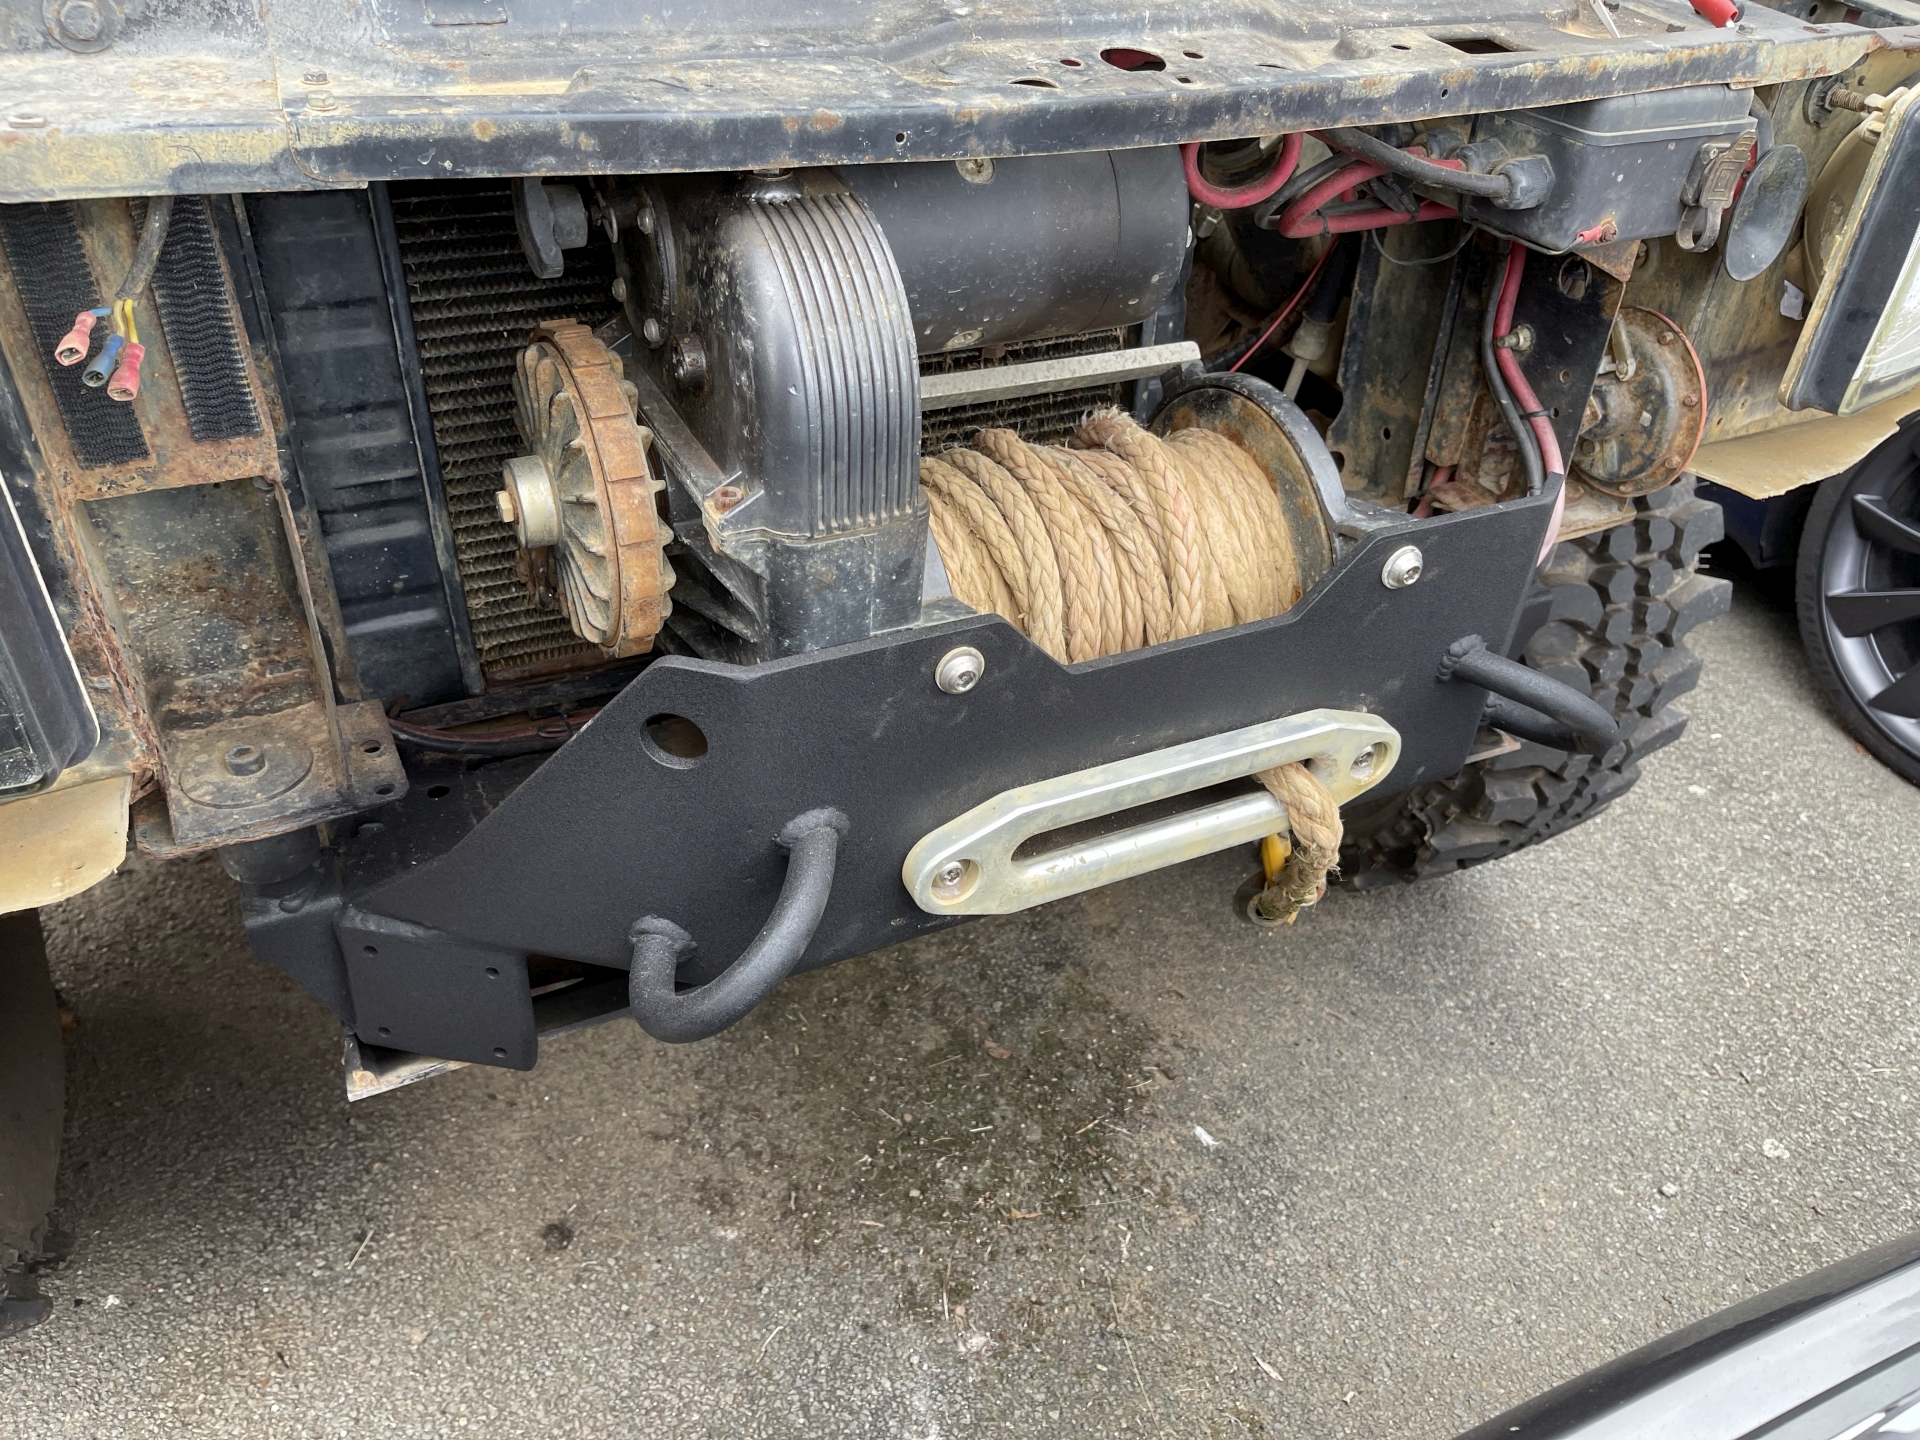
So first thing was to tidy up the front winch mount. I had wanted to sort that ever since I photoshopped it for my wall mounted photo plate. Sanding down, Rust-oleum direct to rust black primer and then 'truck bed liner' spray that goes on with a nice texture. I fitted the new stainless security screws that I've had for years, there are new stainless square nuts behind too. I also painted the front part and front side bars of the roll cage, but I don't have any pictures.
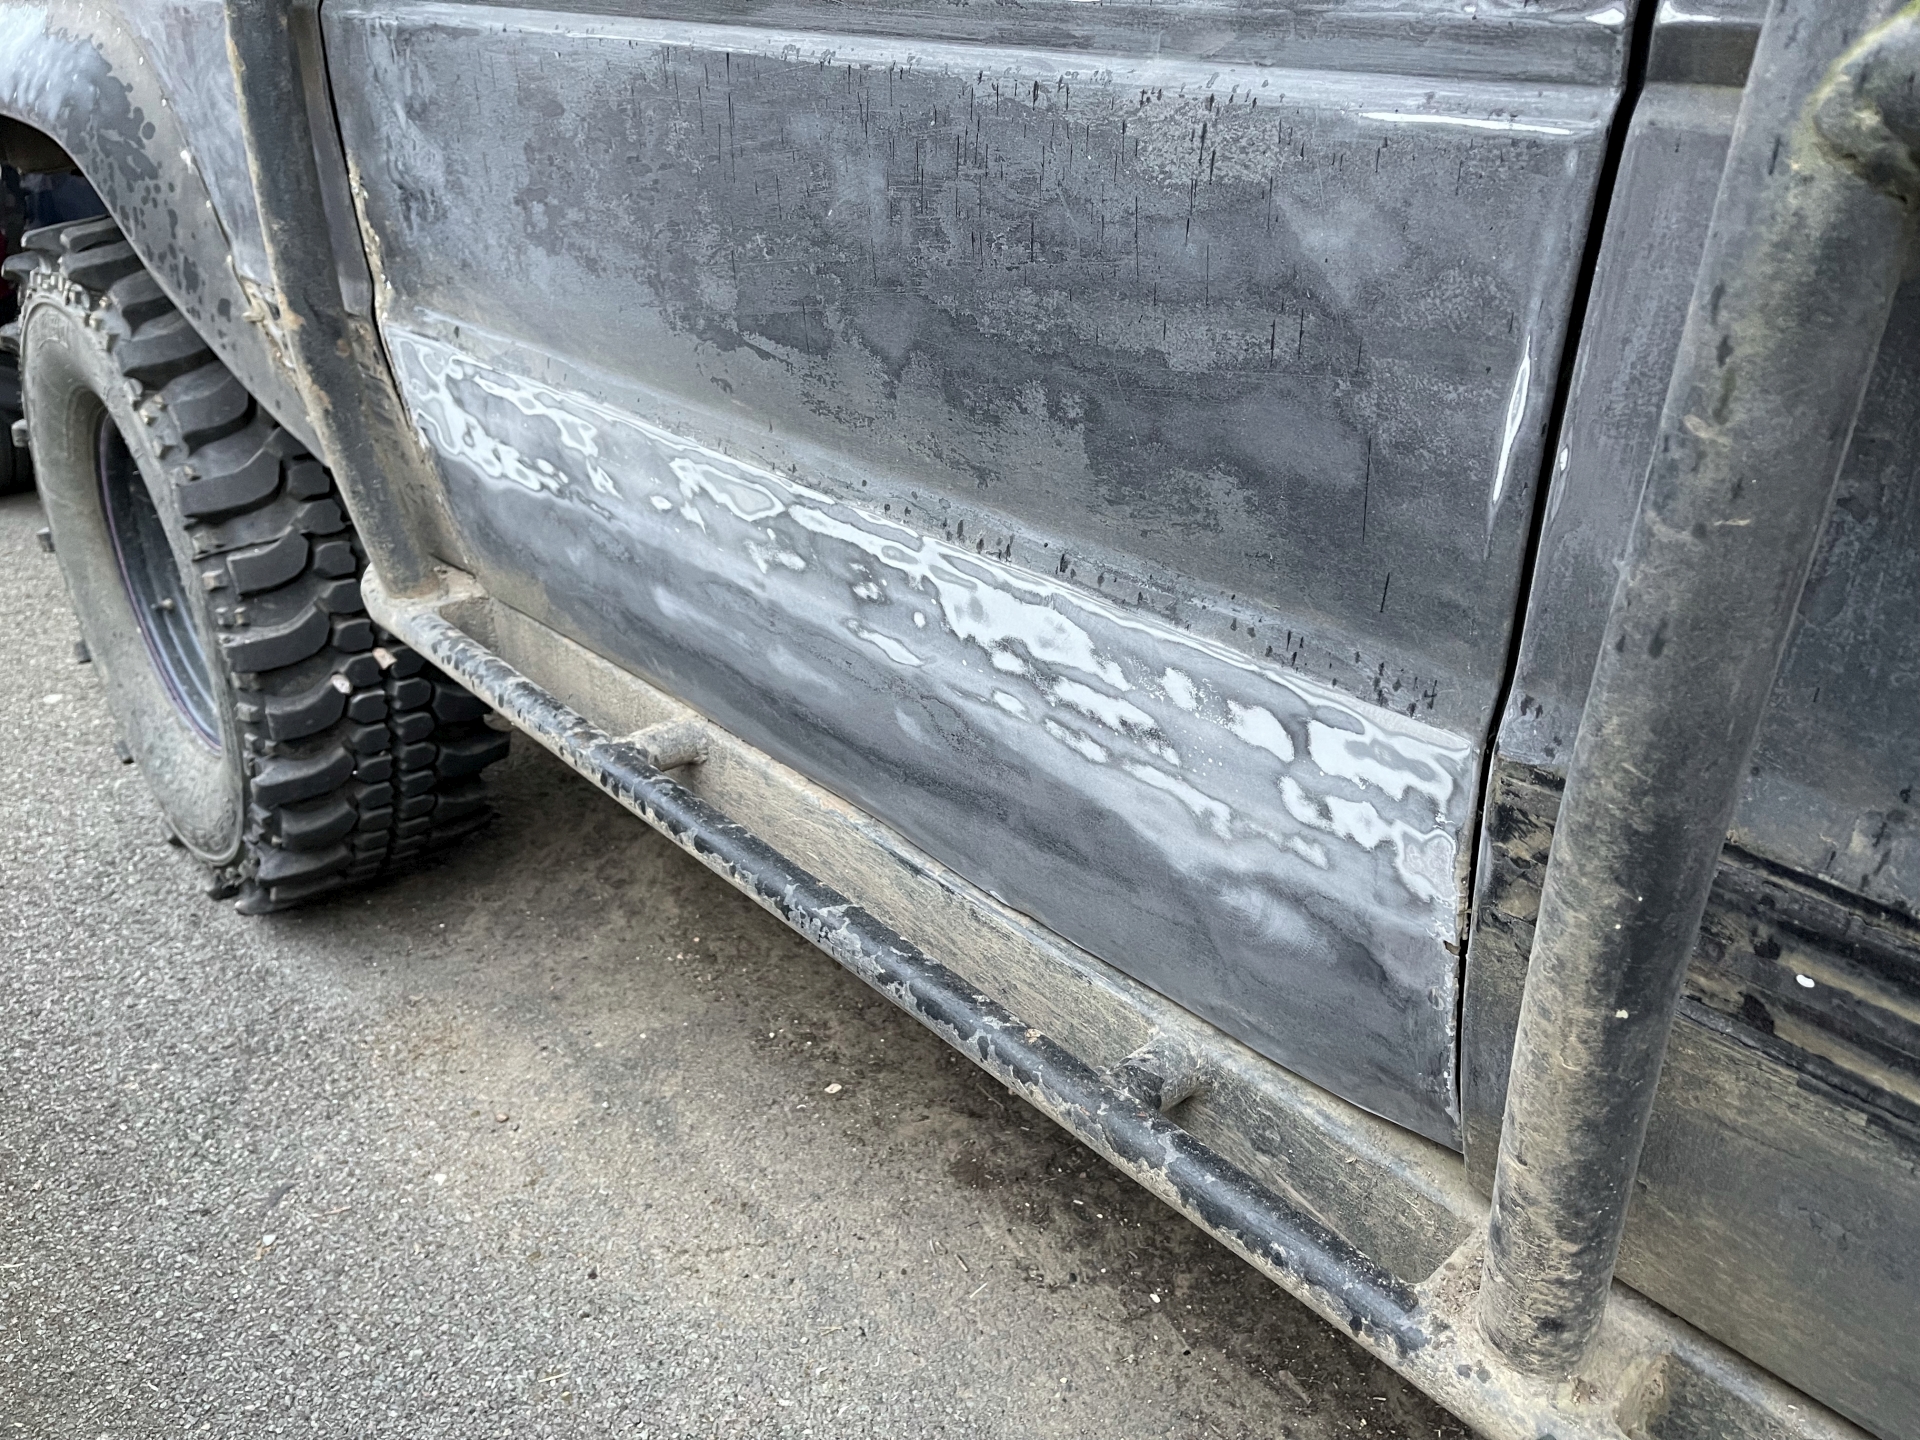
Next up was sanding the body for Raptor, not a small task. Some areas went through to bare metal, especially where I removed the side strips. The top layer of paint was very chalky, the military satin black that comes in 5 gallons for £20 type. I sanded back as much as I could, there's definitely a stage where it looks worse before it looks better.

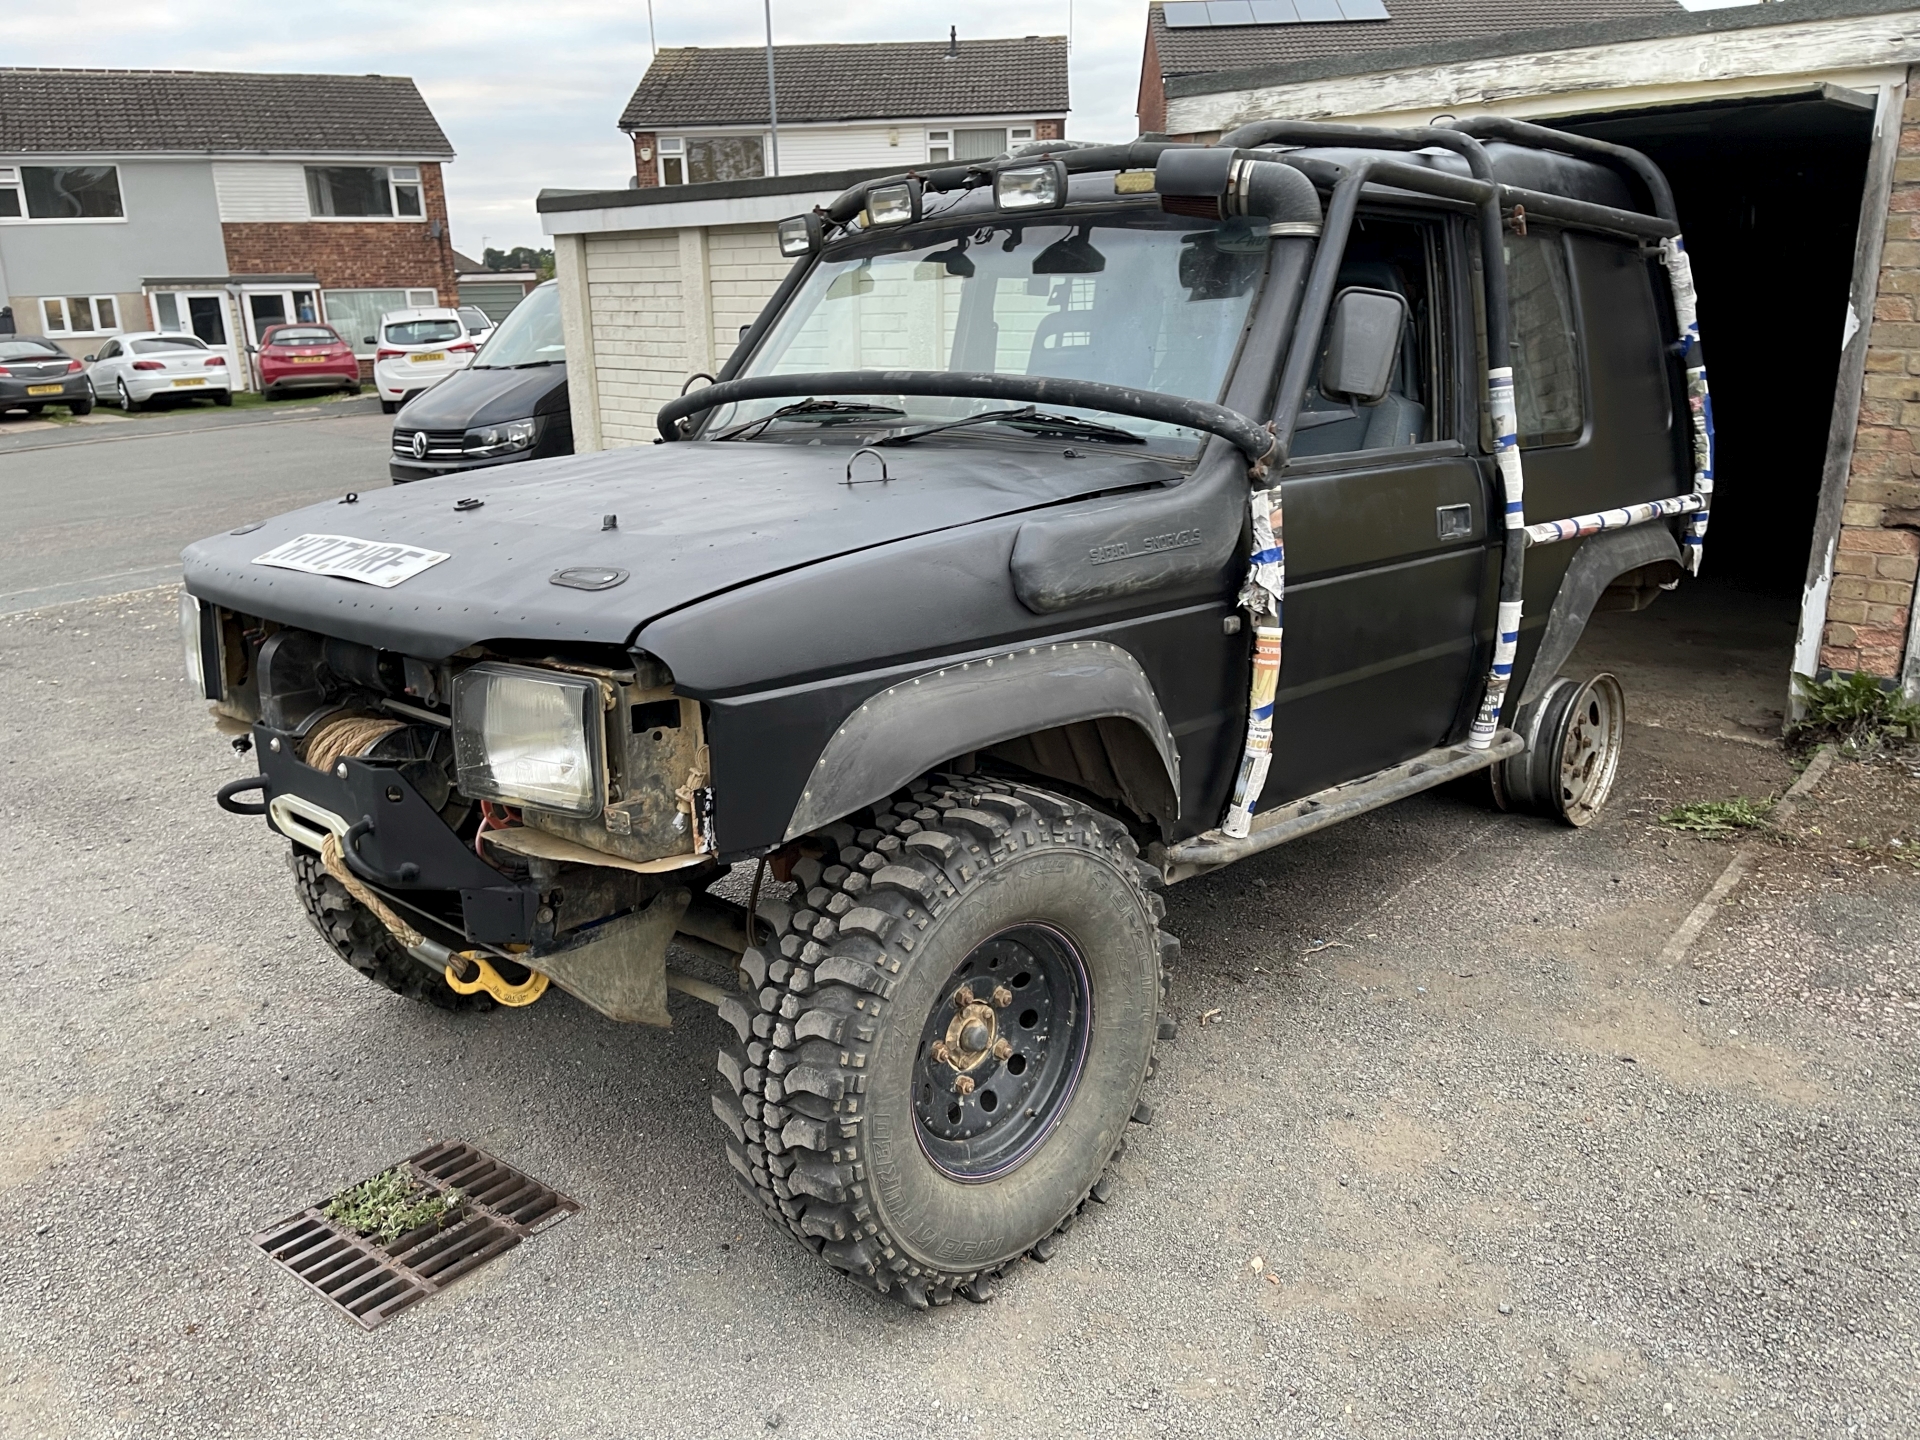
Two weeks later, Raptor time. After applying it has to sit for 3 days without getting wet, even with it being fairly dry at the moment it would get morning dew on it if left outside so I had to find a way to get it in the garage. Buying some cheap steel wheels and removing the crusty tyres was the answer, it dropped the back end just enough to fit in.
I sprayed the bare metal areas with U-pol acid etch #8, used u-pol degreaser and even tack cloths before applying the top coat. I decided to apply with a roller instead of spraying as that's a messy job and I would have to do a lot more masking. I didn't take into account that the rollers might fall apart...

Everywhere got 2 coats and I slapped a load of spare coating on the roof to help protect it and seal a couple of areas where I've had leaks before. I removed the masking as soon as I was done so it didn't fully cure and permanently attach the tape, or require a knife to cut it free.

How it looks close up, with the masking still on. Good from far but lots of little bits in it.
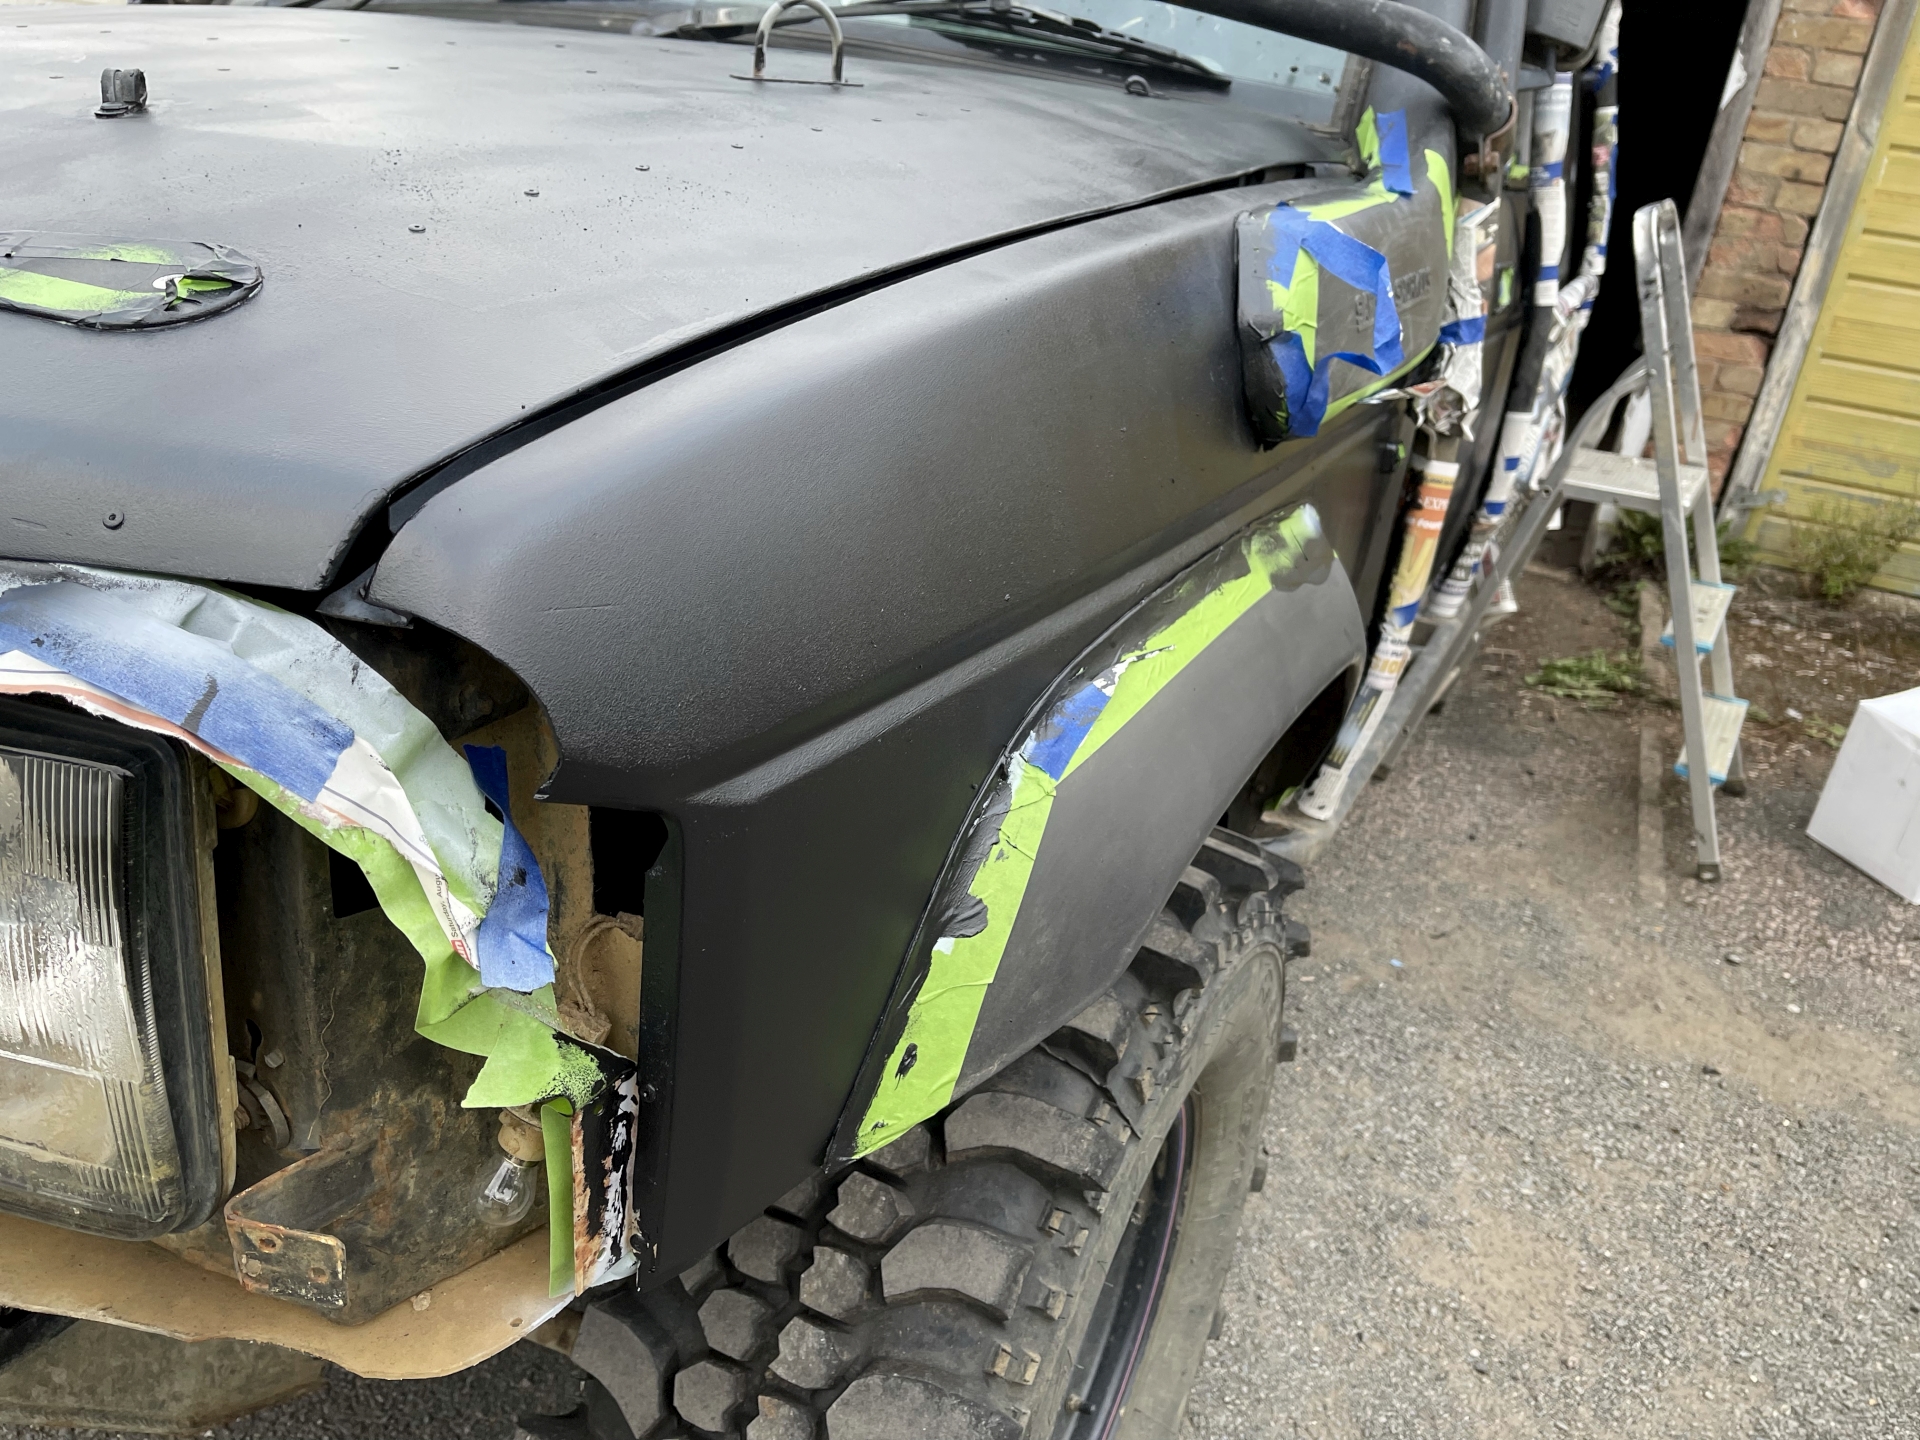
I wasn't sure if I should paint the plastic arch flares with Raptor, so I made a mockup in Photoshop
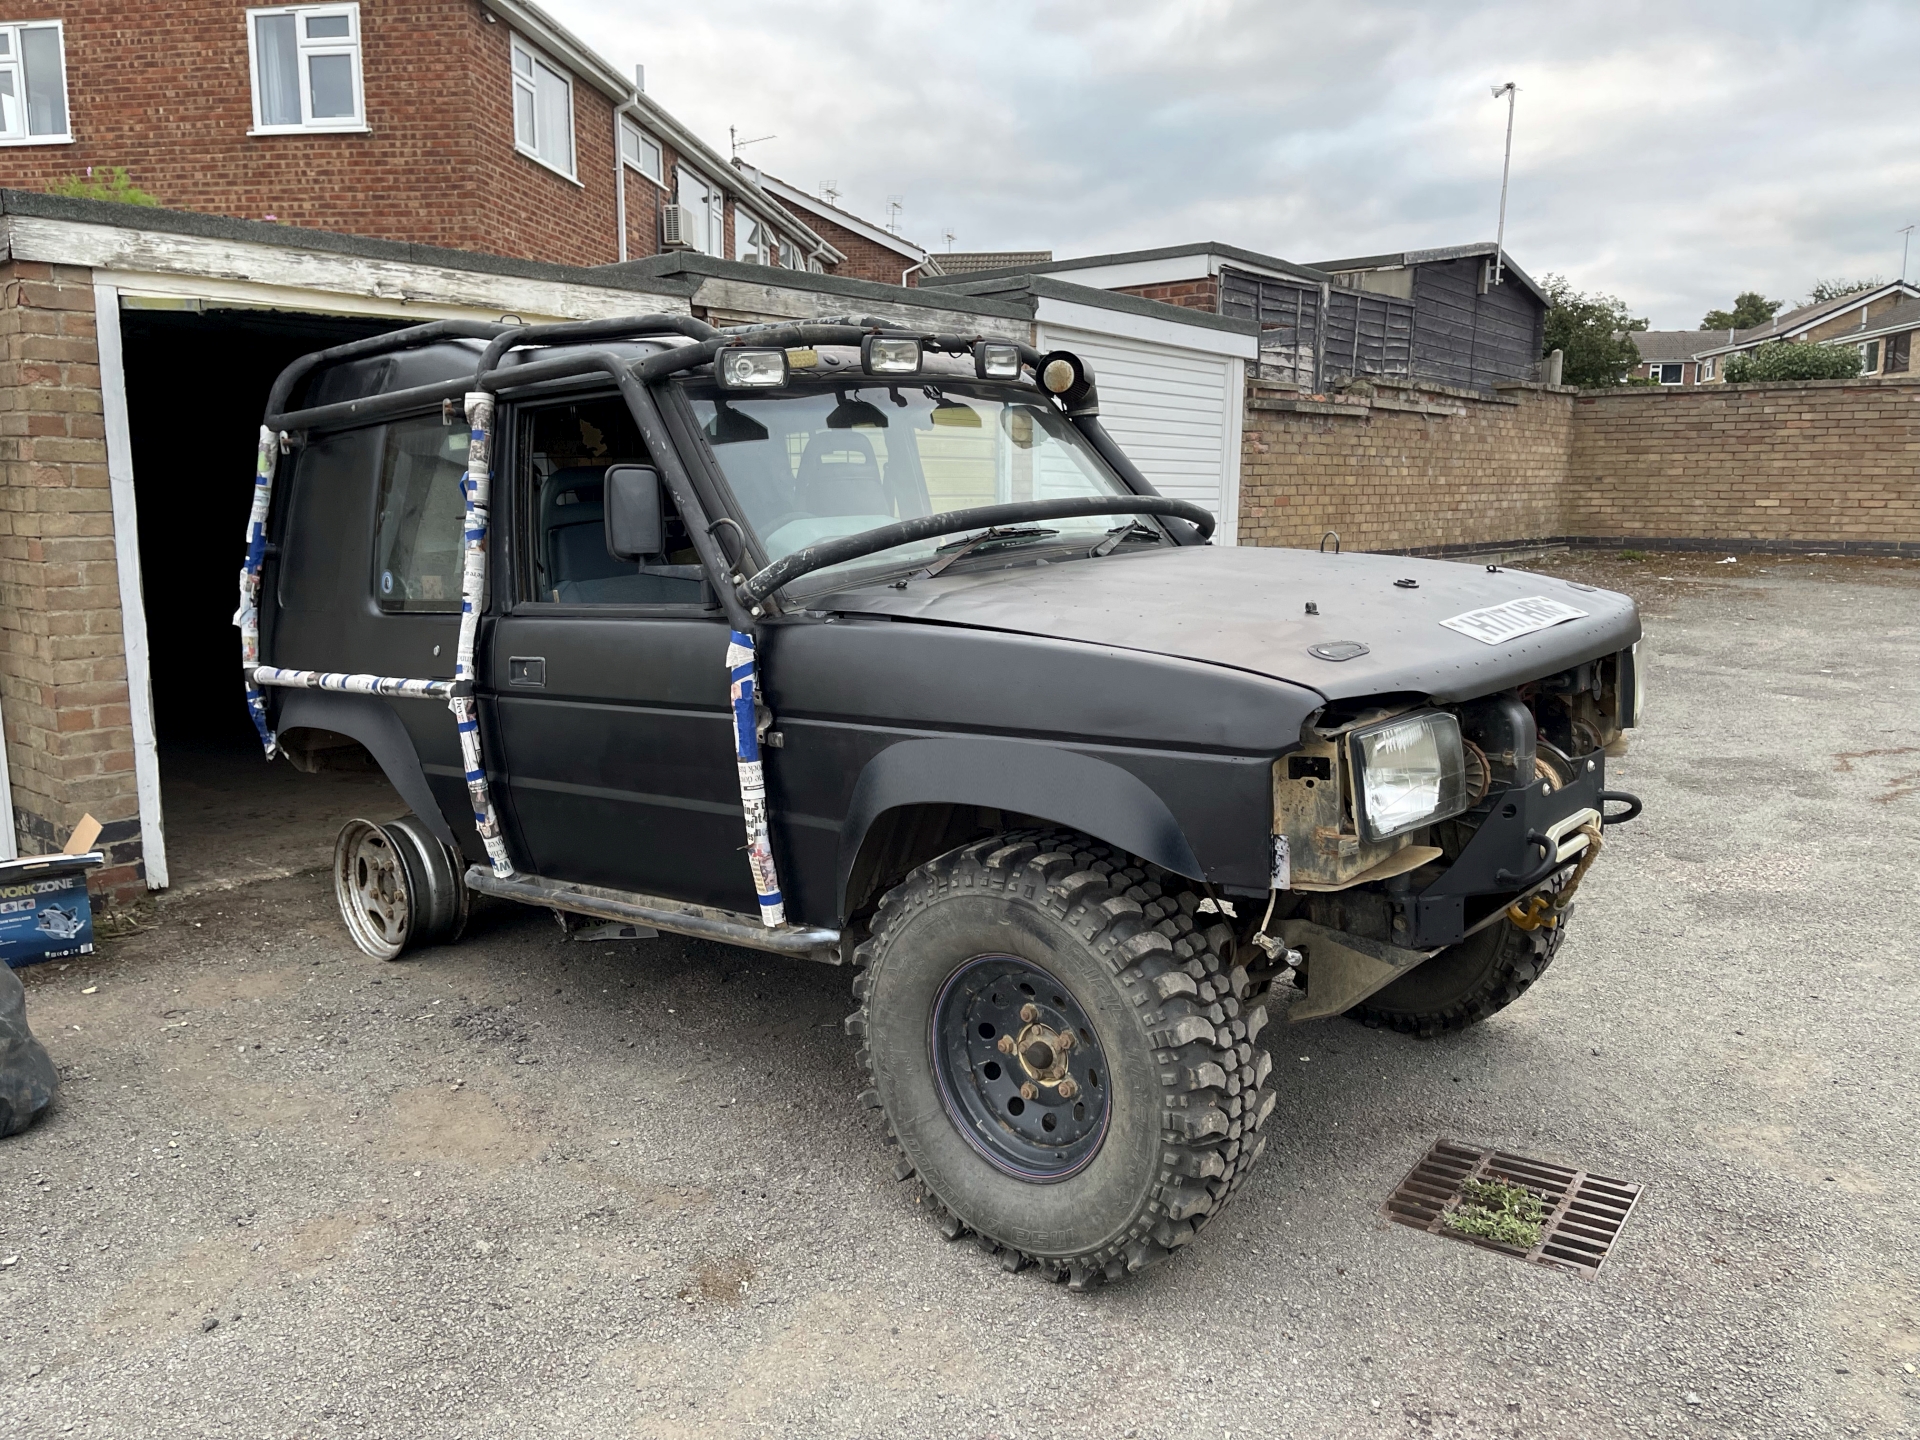
Did it work? Well, yes! Mostly.

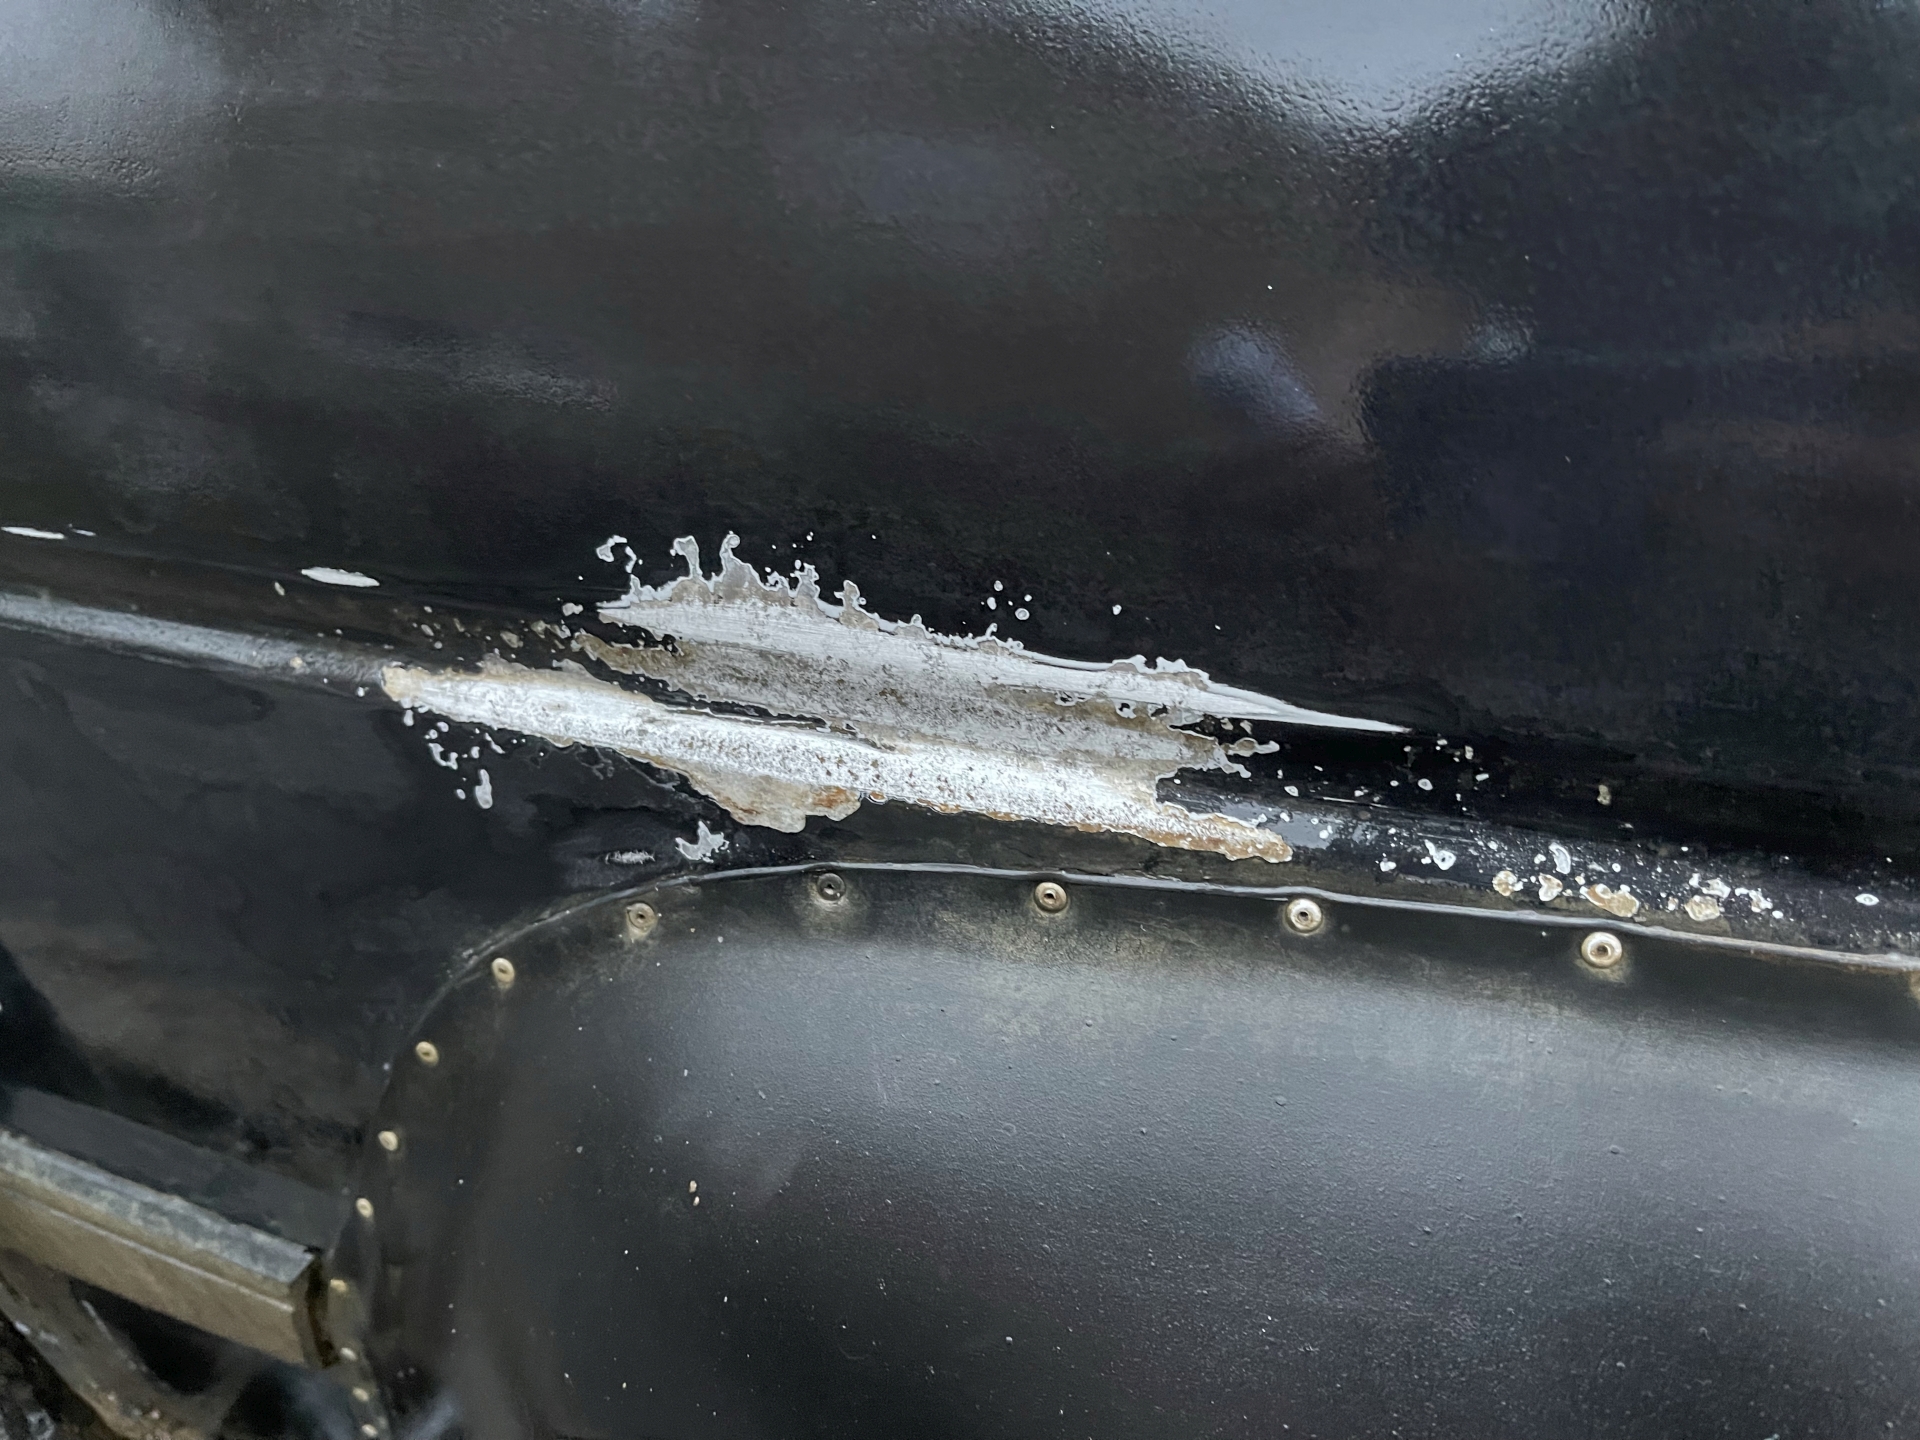
I managed to scratch the front edge of the bonnet so touched that up too. I tried to apply what I had learnt from painting the bodywork, so mixed up smaller amounts of paint, didn't hang around to let the roller stick, finished with a single roll in one direction and changed the foam roller more regularly.
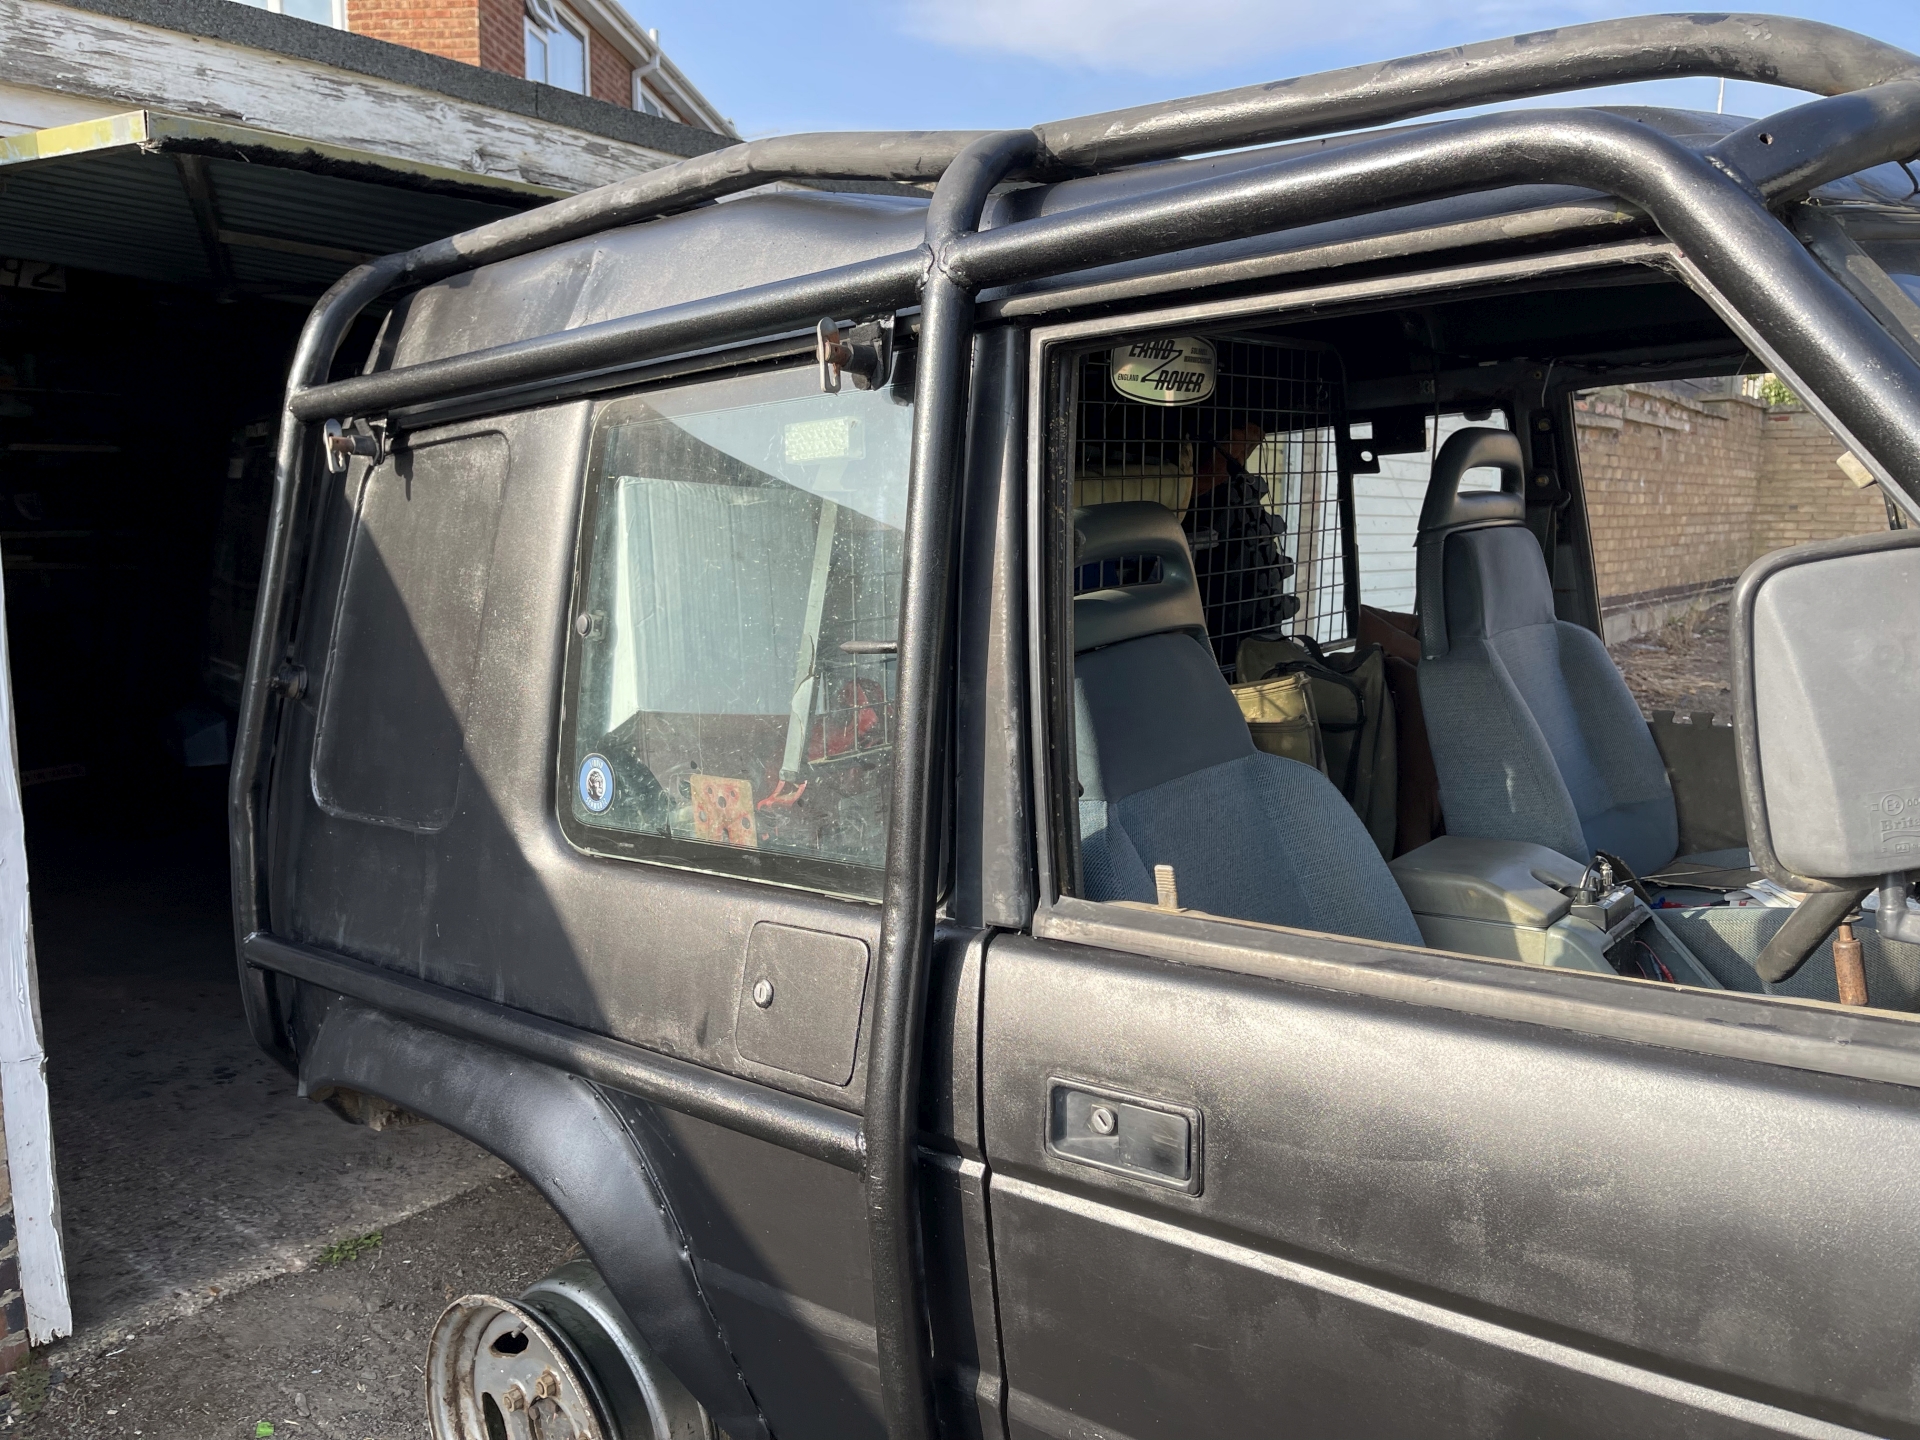
Cage was next to be painted. When the sun came out the roller lines were pretty visible on the doors, they've faded a bit since. I cleaned some acid etch overspray off the front number plate with Novus plastic polish. It's held on with big rivets and it wasn't worth removing it.

It ain't perfect but it's on there.
The next night or something I basically did the rest, refitting and touching up the front bumper and side bars, refitting the big wheels, emptying the back and finally pumping the front tyres back up to full pressure, before taking it for a little test drive. The test drive was more to cool me down since it was a warm night and I was melting. The cordless DeWalt compressor made short work of this, I wasn't going to rig up my bigger 12V compressor at this time of the evening.

Interior was reassembled the next night and I went out for a longer test drive to find a photo spot. Found a nice spot. The Photoshop content-aware fill tool is great for removing litter from photos.
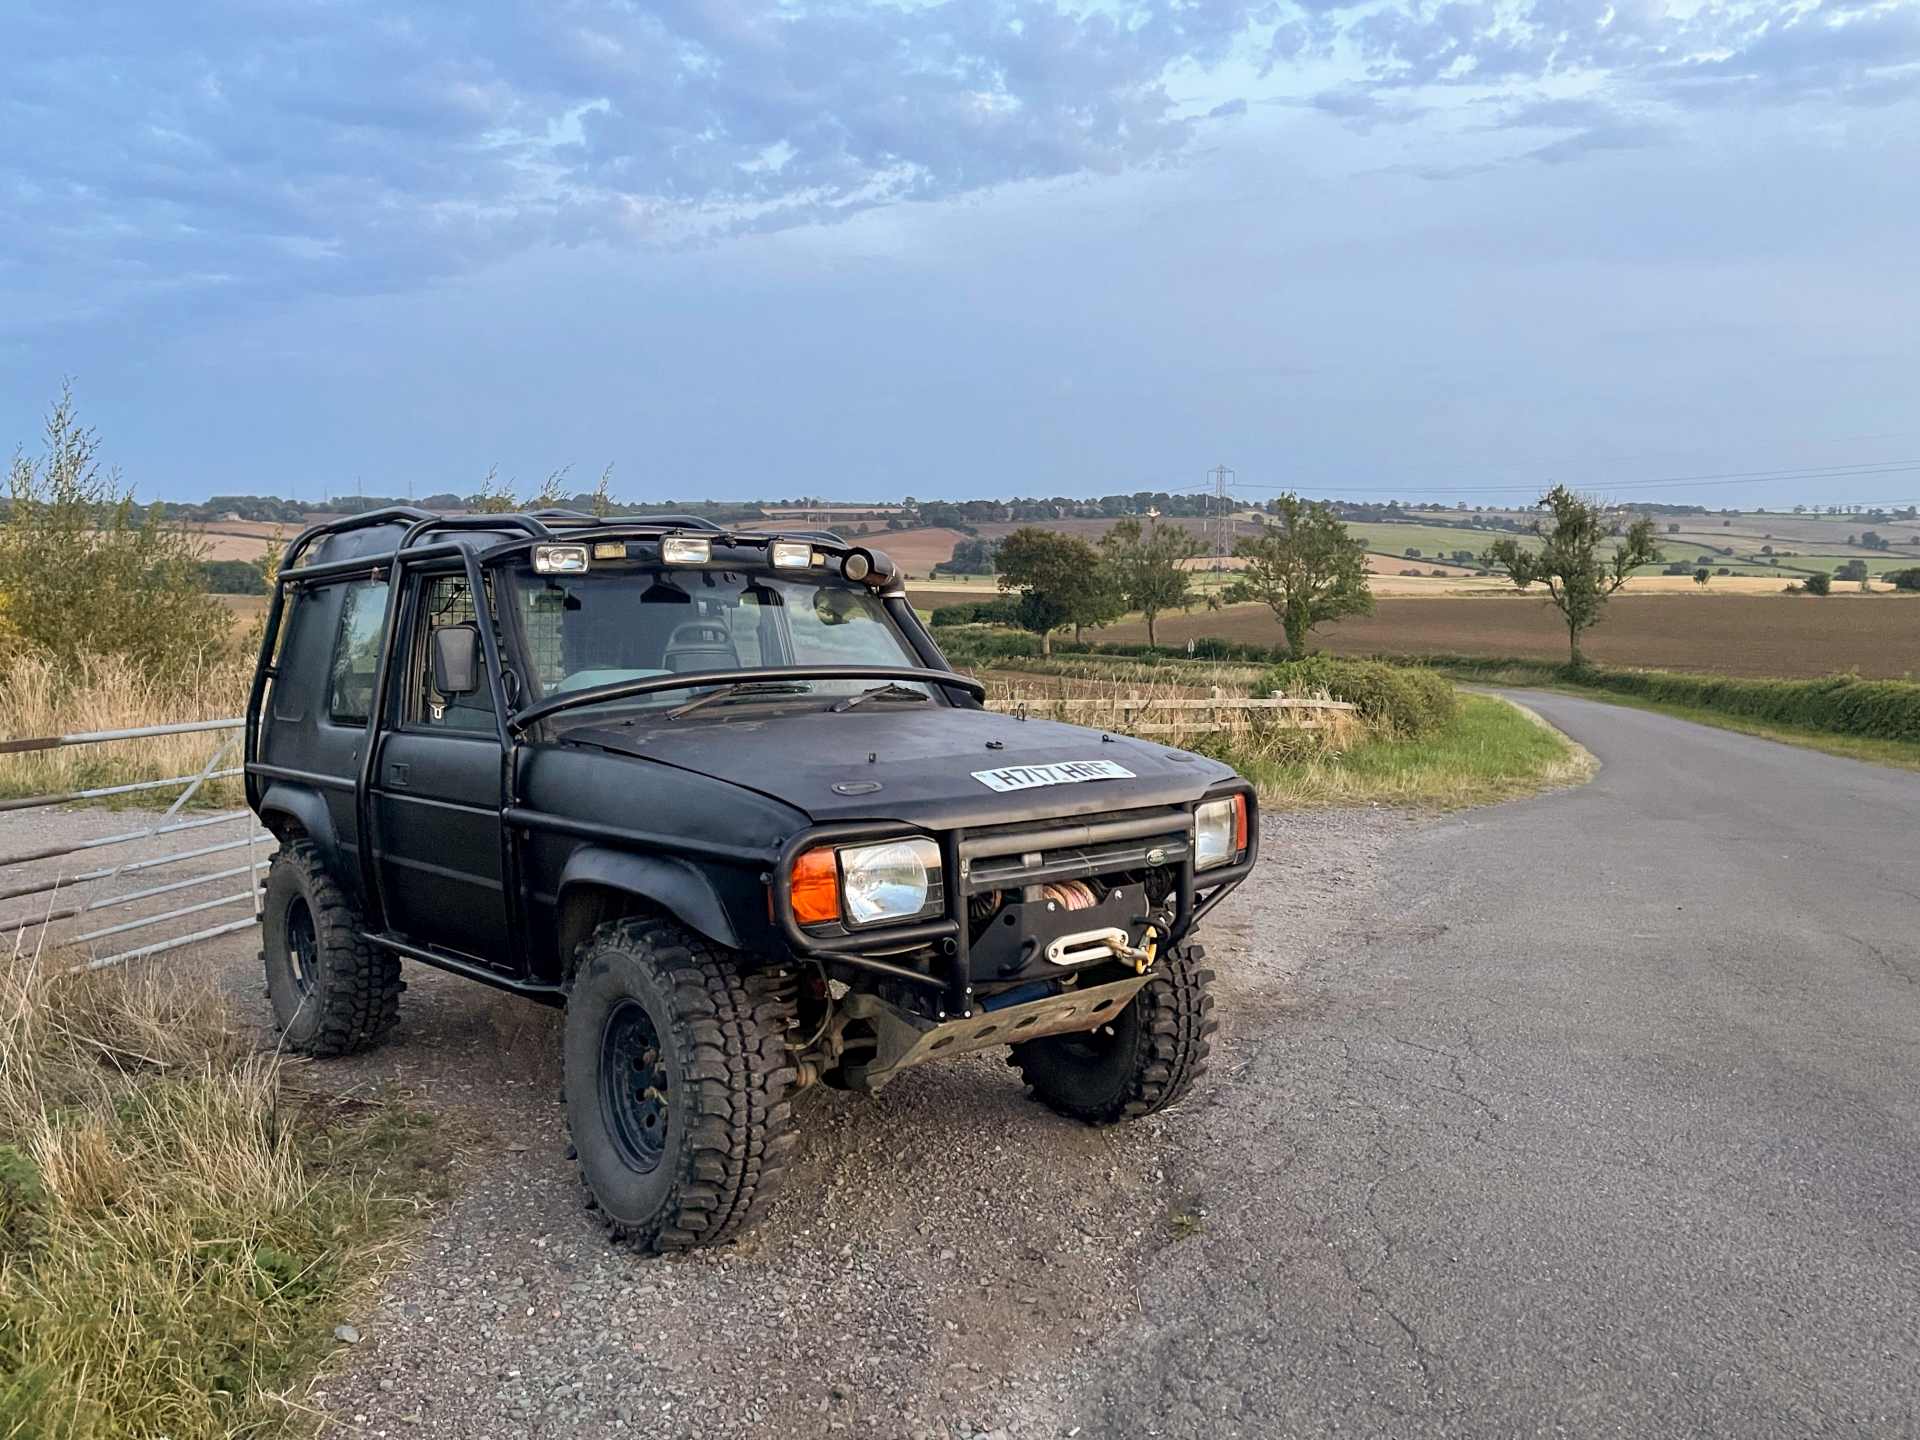
I recorded a quick walk around.